The world can be a stressful place, so your home should act as a personal sanctuary. Yet many people find that their houses are chaotic and full of clutter — the opposite of a relaxing space. Everyone craves a customized stress-free zone, but how do you achieve it?
You can start by implementing these three tips.
1. Give Everything a Home
Clutter sometimes seems like it’s never-ending, which can cause anxiety and can trigger guilty feelings. The solution is to clean, declutter and organize, using these two steps.
Creating Zones
Structure offer clarity and direction, which can reduce uncertainty and confusion. If you create zones in your house, it will be easier to decide where objects should go. For example, you might decide that your office is the place to address anything important. From there, you would place important bills, files and documents into that single room. Likewise, you would put all related items in that space.
To implement this step in your life, walk into each room of your house and determine its purpose. You could give the room a dedicated name or divide it into categories like work, play and relaxation.
Prioritizing Storage Solutions
Once you’ve created zones throughout your home, it’s time to organize items and prioritize storage solutions. You can use folders, bags, boxes or baskets — whatever suits your needs — to begin separating items. You’ll then need to assign them a dedicated place in the house.
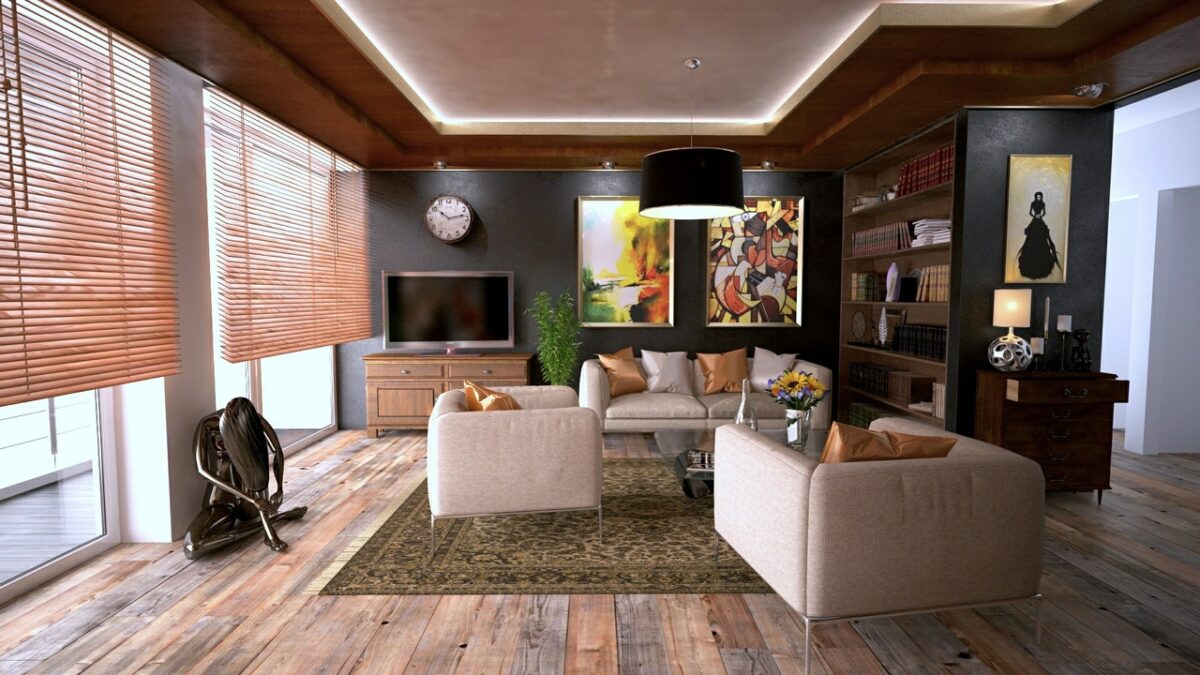
2. Choose a Cohesive Design
With your home clean and organized, it’s time to take a closer look at your design. Does each room have a similar style? If every room is painted a different color and has mismatched furniture and decor, your house might feel chaotic even when clean.
Think about your personality and lifestyle — what furniture pieces do you appreciate the most? If you don’t have a strong design opinion, you can also look to your home’s character for motivation. When you choose a cohesive design theme, you create a natural flow and balance inside that wasn’t present before.
Popular design styles include:
- Traditional
- Rustic
- Coastal
- Industrial
- Modern
- Eclectic
3. Bring the Outdoors Inside
Some houses truly need a breath of fresh air to begin feeling like a stress-free zone. Here are two ways to bring the outdoors inside.
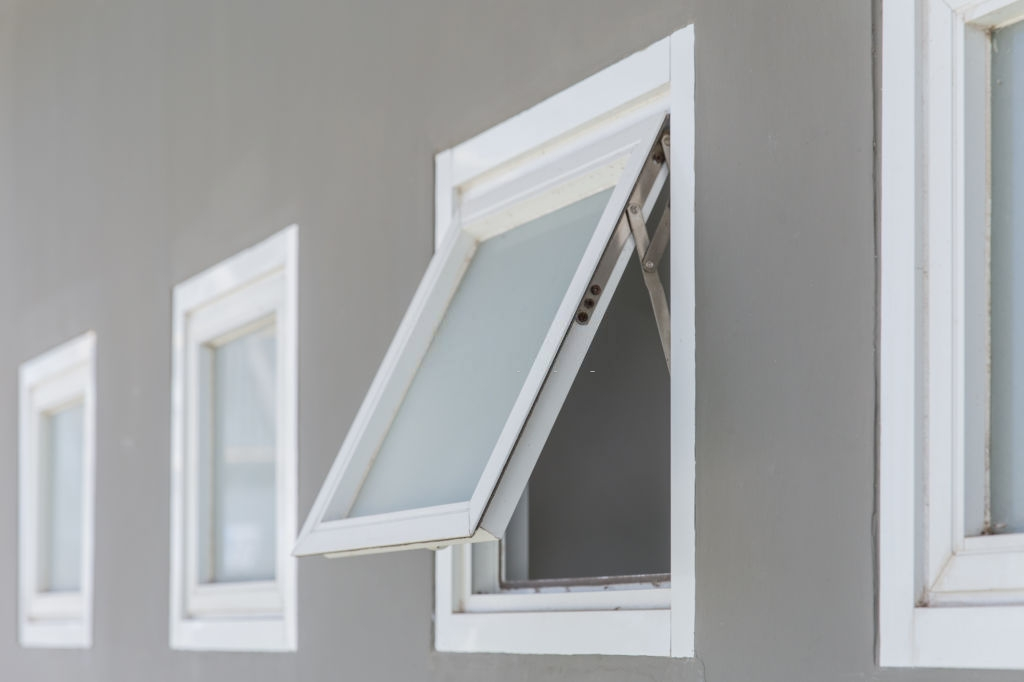
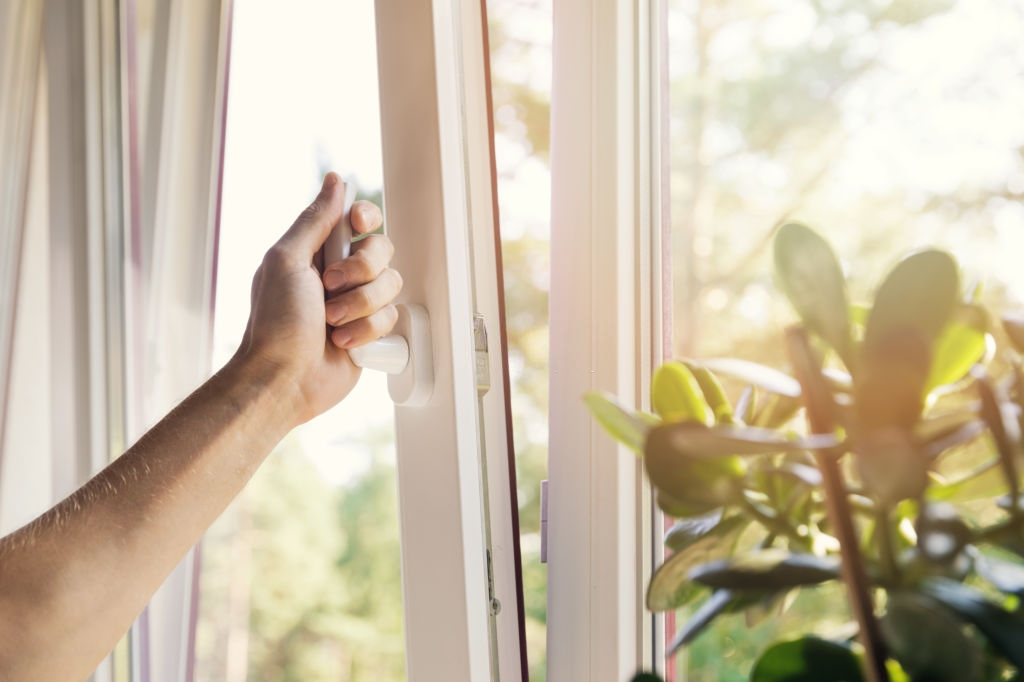
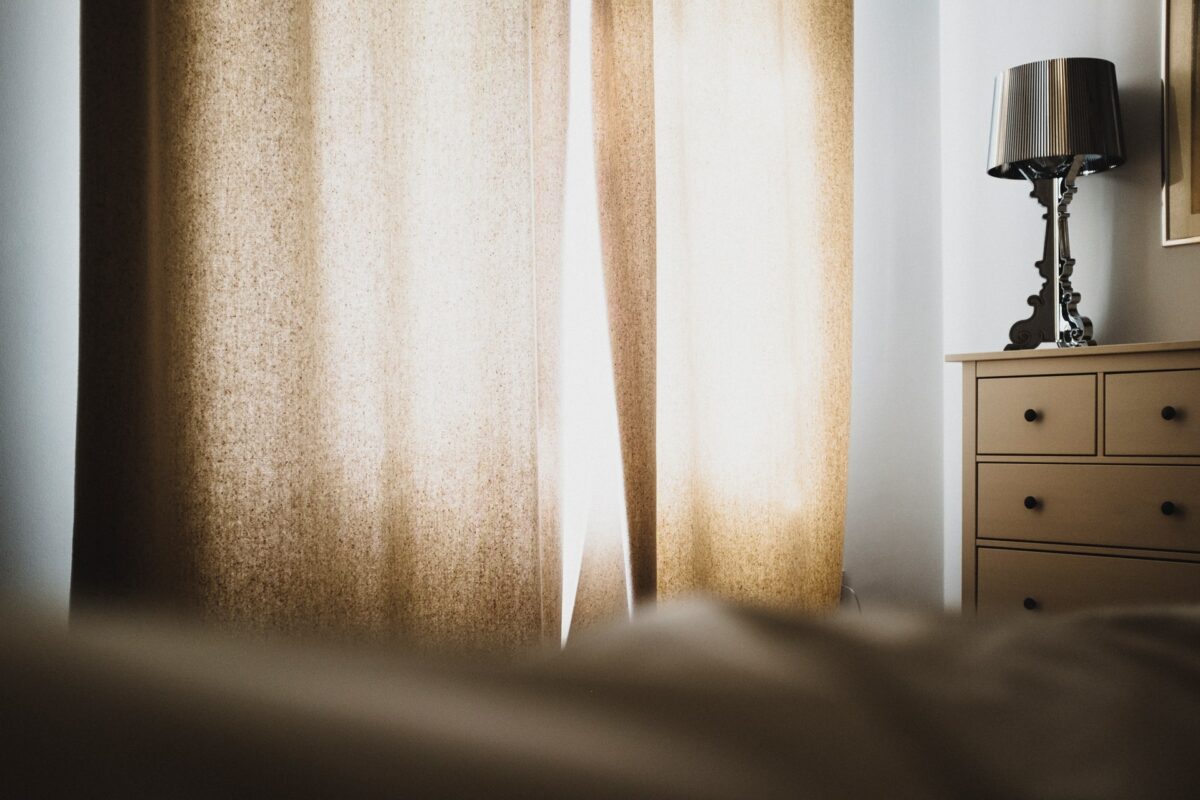
Natural Light
Natural light makes you feel energized and alive. Sunlight helps to reset your body’s circadian rhythm provides you with a healthy boost of vitamin D. In return, you sleep better and have more energy. To gain more natural light, try using sheer curtains instead of heavy materials. If you’re looking for a massive boost of sunlight, you can install additional windows or skylights throughout your property.
Indoor Plants
Houseplants make people happy and can naturally remove toxins from the air. They look beautiful and may spark a love for gardening you didn’t know existed. Begin with plants that are resilient to boost your confidence and add to your collection over time.
Take It Slow
Using these three tips, you can transform your home into a stress-free environment where you’re happy to spend time. Remember, it’s essential to take it at your own pace. By taking your time with each step, you can enjoy the process rather than adding to your anxiety. Even the most beautiful properties can seem stressful if the individual feels overwhelmed or unhappy. Use your redesigned clutter-free house as a safe space to decompress and prioritize self-care — you’ll have a new appreciation for your home and yourself.