
 Posted by
 October 30, 2026

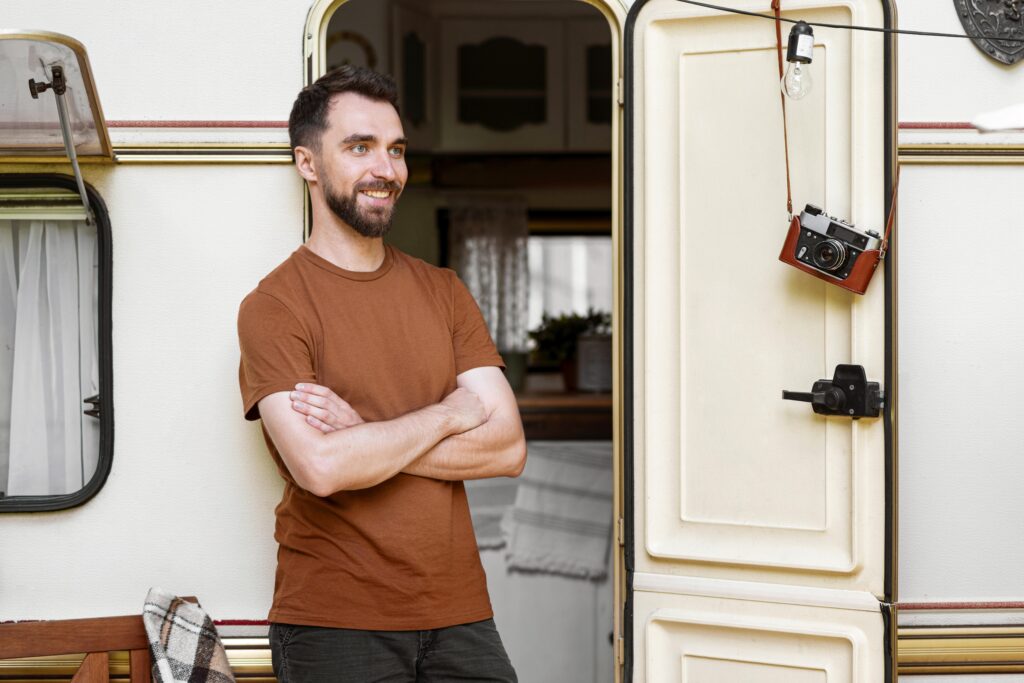
Camper trailer restoration is a rewarding way to bring an old camper back to life. Whether you found one on a farm, bought one cheaply online or inherited one from a family member, a little time, effort and know-how can transform a tired trailer into a reliable, comfortable and characterful home for weekend adventures.
Restoration projects can be rewarding, but they require planning and a realistic understanding of what is involved.
Assess Before You Buy
If you are buying a trailer to restore, inspect it carefully. Look beyond cosmetic issues to the structure. Check the chassis, drawbar and crossmembers for rust, cracks and previous repairs. Inspect the floor for rot or soft spots. Look at suspension, axles, wheels and bearings. Check the condition of the canvas or body, windows, doors and fittings.
Structural problems are far more expensive to fix than cosmetic ones. A trailer with a sound chassis and tired interior is usually a better project than one with a beautiful interior and rusted frame.
Plan the Project
Decide what you want the finished trailer to be. Will it be restored to original condition, upgraded with modern features or completely reimagined? Set a budget and timeline, allowing a contingency for unexpected problems, which almost always appear.
A successful camper trailer restoration starts with a clear plan, realistic budget and a good understanding of the work required.
Break the project into stages, starting with structural work and safety components before moving on to interiors and finishes.
Strip It Back
Most restorations begin by stripping the trailer back to its frame. Remove canvas, cabinetry, fittings, electrical systems and anything else that will be replaced or refurbished. Photograph everything before removal to help with reassembly.
Stripping back allows a full inspection of the chassis and identification of all repairs needed.
Camper Trailer Restoration: Chassis Repairs
Repair or replace rusted, cracked or damaged steel sections. Welding should be carried out by qualified welders, as structural repairs affect safety. Check that the drawbar and coupling are in good condition.
Protecting the Frame
Once repairs are complete, the chassis needs protection. Abrasive blasting removes rust and old coatings, creating a clean surface for new protection. Applying a quality chassis protection coating to the restored frame helps guard against corrosion, stone chips and abrasion, giving the trailer a strong foundation for many more years of travel.
Take time with this stage. A well-protected chassis is the foundation of a durable restoration.
Suspension, Wheels and Brakes
Replace worn suspension components, such as springs, bushes and shock absorbers. Inspect axles and replace if bent or damaged. Fit new wheel bearings, seals and, if needed, wheels and tyres. Check brakes and replace components as necessary. Brake requirements depend on the trailer’s weight and must comply with regulations.
Electrical Systems
Old wiring is often brittle, corroded or unsafe. Replace trailer wiring, lights and plugs. If adding internal power systems, such as batteries, solar and lighting, have them designed and installed by qualified professionals. Mains power connections must be installed by licensed electricians.
Interior and Canvas
Once structural and safety work is complete, attention turns to interiors and canvas. Replace or repair canvas, ensuring it is waterproof and properly fitted. Rebuild cabinetry using lightweight materials. Update kitchens, storage and bedding to suit your needs.
Consider weight throughout, as heavy additions affect towing and compliance.
Registration and Compliance
Check registration requirements in your state, particularly if the trailer has been unregistered for a long time. Inspections may be required. Ensure the trailer meets requirements for brakes, lights, couplings, safety chains and weights.
Test Before Long Trips
Before heading off on a big adventure, test the restored trailer on short trips. Check that everything works, identify any issues and make adjustments.
Ongoing Care
After restoration, maintain the trailer regularly. Wash it after trips, inspect for damage, service bearings and brakes, and touch up any coating damage promptly.
Regular maintenance helps protect your camper trailer restoration investment and keeps the trailer ready for future adventures.
Keeping Track of Costs and Time
Restoration projects have a way of growing. A small rust patch reveals a larger problem, a new fridge requires a bigger battery and an upgraded battery calls for better wiring. Keep a simple spreadsheet of costs and hours as you go. It helps you stay within budget, decide where to compromise and understand the true value of the finished trailer. Many restorers also keep a photo diary, which becomes a lovely record of the transformation and useful evidence of the work completed if the trailer is ever sold.
Sourcing Parts
Original parts for older trailers can be hard to find. Online forums, owners’ clubs, wreckers and specialist suppliers are good sources, and enthusiasts are often generous with advice.
A Labour of Love
Restoring a camper trailer takes time and patience, but the reward is a unique trailer with history and character, built to your preferences. Every trip becomes a reminder of the effort that went into bringing it back to life, and many restorers find the journey of restoration as rewarding as the adventures that follow.