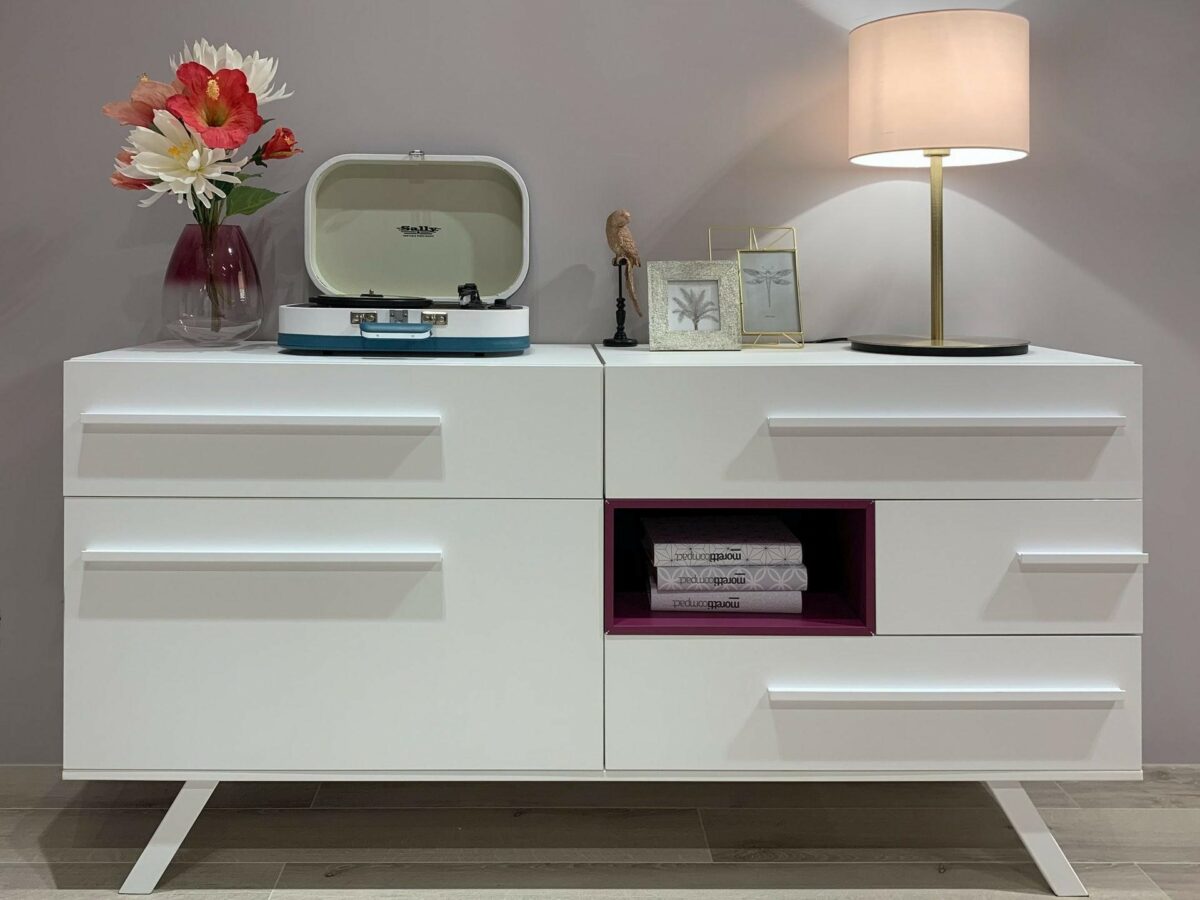
People acquire old furniture in numerous ways. You might find an eye-catching chest at a garage sale or inherit a display cabinet from a relative. You’d love to keep the furniture, but it doesn’t exactly match your existing interior design scheme. Use these seven pro tips for repainting furniture to flip it into something that works with your home and personal preferences.
1. Inspect Pieces for Damages
Even freshly painted furniture is useless if it’s damaged. It’s also more difficult to apply paint over chips or dents in the wood. Closely inspect your newly acquired pieces to see if they’re functional or need a bit of work.
2. Research Paint Brushes
One large paintbrush likely won’t be enough to do the job. There are many different types that accomplish specific painting tasks, like navigating carvings or edges. Consider your particular piece of furniture to decide how many brushes you’ll need and which types will apply paint most evenly.
3. Wear Protective Equipment
You could solve some damages with special equipment, but that also requires wearing protective gear. Sanding down chips or scratches requires a dusting mask to cover your eyes and shield you from inhaling the dust.
4. Clean the Furniture
Painting over dust and debris results in a bumpy paint job that can’t properly adhere to the wood surfaces. Cleaning is one of the best pro tips for repainting furniture. Research how to clean your specific piece and let it dry before opening any paint cans.
5. Start With Primer
Many people don’t understand the importance of primer when repainting old furniture. Without it, the paint could soak into the wood and require multiple coats. It adds extra costs to your project that you could avoid with a single can of primer.
Apply the primer as the first layer of paint. It’s typically white but doesn’t shine through the final color. It seals itself over the wood to prevent the next layer from sinking into the furniture as it dries. You’ll get more use out of whatever paint you need to finish the job.
6. Finish With Sealant
After finishing your project, the last thing you need is more chipping and peeling. Exposed paint is more likely to do this if the furniture comes into contact with water rings or harsh sunlight.
Sealant is the final layer for any repainted furniture. It locks the paint into place and gives the piece an extra shine. It keeps the paint intact for years, making your time and effort a better investment.
7. Preserve the New Paint
Always give the paint extra time to dry before applying sealant. Moving on while it’s still wet or sticky leads to smudges and improper application. Some paint cans estimate the time it takes for the product to dry. Give your furniture a few extra hours or even days so the paint is ready for sealant and immediate use.
Try These Tips for Repainting Furniture
You don’t need to pay an expensive fee to update old cabinets, tables or chairs. Use these seven pro tips for repainting furniture to create a new interior design addition. With a bit of research and protective precautions, you’ll have an easy time designing your next favorite piece of furniture.


