
 Posted by
  September 22, 2026
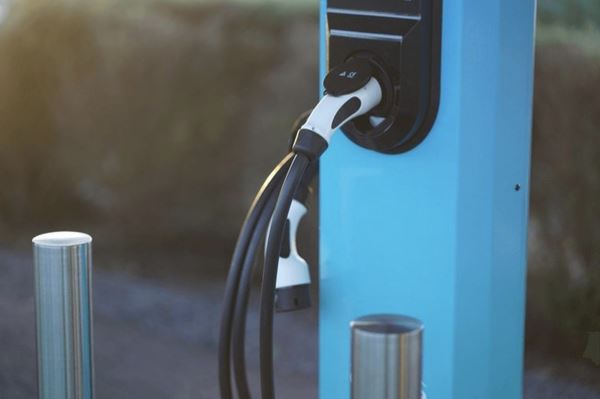
Switching to an electric vehicle is exciting, but it also comes with a bit of homework before that first charge at home. Unlike topping up at a public station, home charging setups need to be planned properly to make sure your electrical system can handle the added load safely and efficiently. Rushing into an installation without understanding these basics can lead to delays, added costs, or a setup that doesn’t quite meet your daily needs.
Assess Your Current Electrical Capacity
The first step is understanding what your home’s panel can support. Older homes, in particular, may not have been built with the extra draw of a charger in mind. A panel that’s already close to capacity might need an upgrade before a charger can be safely added, so this is worth checking early in the process, ideally before you’ve committed to a specific charger model.
A capacity assessment usually involves reviewing your existing electrical load, including major appliances, and calculating whether there’s enough headroom for a charger without risking overload. In some cases, this reveals that a panel upgrade is necessary regardless of which charger you eventually choose.
Decide Between Level 1 and Level 2 Charging
Most EVs come with a standard cable that plugs into a regular outlet, known as Level 1 charging. It works, but it’s slow — often adding only a handful of miles of range per hour. A Level 2 setup, which requires a dedicated circuit, charges significantly faster and is what most homeowners end up choosing for daily convenience, particularly if they’re commuting regularly and need a full charge overnight.
The decision often comes down to how much driving you do day to day. Someone with a short commute might find Level 1 charging perfectly adequate, while a household with multiple electric vehicles or longer daily distances will almost certainly benefit from the faster Level 2 option.
Choose the Right Location
Where the charger goes matters more than people initially expect. It needs to be close enough to where the car is parked, protected from the elements if it’s outdoors, and positioned in a way that doesn’t create a tripping hazard with the cable. Garage installations tend to be the simplest, but driveway setups are common too, particularly for homes without an attached garage.
Factor in Permits and Inspections
Many areas require a permit for installing a home EV charging setup, along with an inspection once the work is done. This isn’t just bureaucratic red tape — it ensures the installation meets safety standards, which matters given the amount of power these chargers draw. Skipping this step, even if it seems like an unnecessary delay, can create complications later, particularly if you ever sell the home.
Bring in a Specialist Early
Rather than waiting until the charger arrives, it’s worth consulting with an electric vehicle charger electrician before you even finalize your purchase. They can advise on panel capacity, ideal placement, and any upgrades needed, which avoids delays once you’re ready to install. Getting this input early also means you can budget accurately, rather than discovering additional costs partway through the process.
Getting your home ready for an EV charger isn’t complicated, but it does benefit from a bit of forward planning. Taking these steps before installation day means fewer surprises and a setup that’s ready to reliably power your vehicle for years to come, with plenty of capacity for whatever comes next.
Think About Future Vehicles Too
If there’s any chance your household will add a second electric vehicle down the line, it’s worth mentioning this during the planning stage. Running additional wiring or leaving capacity for a second charger during the initial installation is far cheaper than retrofitting later, once walls and finishes are already in place.
Factor In Smart Charging Features
Many modern chargers offer scheduling features that let you charge during off-peak electricity hours, which can meaningfully reduce your energy costs over time. If this matters to you, it’s worth discussing compatible charger models and any additional wiring requirements before you finalize your equipment choice, since not every panel setup supports these features equally well.
Don’t Forget About Outdoor Conditions
If your charger will be installed outdoors, whether on a driveway or an exterior wall, make sure the equipment and installation are rated for your local climate. Extreme heat, cold, or heavy rain can all affect both the charger’s performance and its longevity if the installation wasn’t planned with those conditions in mind.
Understand the Full Cost Picture
The cost of a home charging setup goes beyond just the charger itself — it includes any panel upgrades, permitting fees, and the labor involved in running new circuits. Getting a clear, itemized estimate before work begins helps you budget accurately and avoids the frustration of unexpected costs partway through the project.