Creating fun woodworking projects with kids is a great way for parents and little ones to bond while you are teaching them how to create wood based crafts for around the house. These easy projects below are great for kids to get involved with since they all use limited power tools and have easy assembly.
Bird House
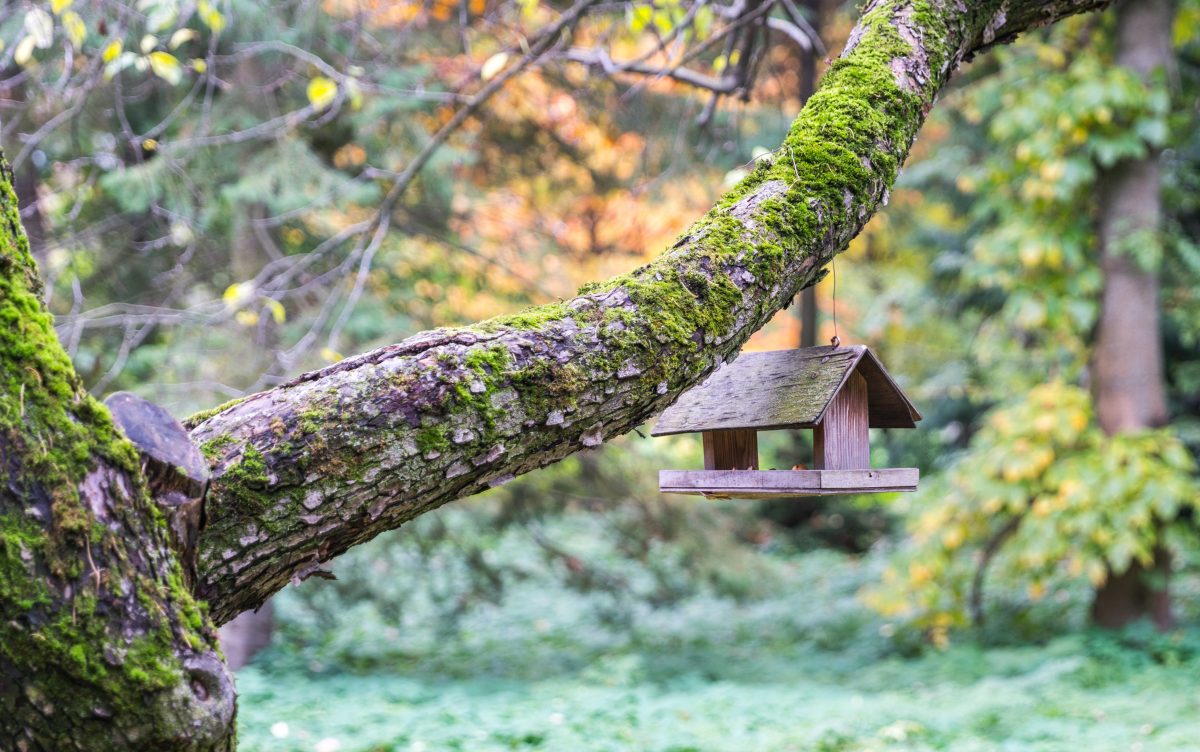
Making a birdhouse is a right of passage for little ones and adults who are learning how to create crafts from wood working. The most basic design for a birdhouse is to create a standard box with an A frame roof. You can easily use an untreated 1×8 wood board to measure the birdhouse walls, roof and floor and then cut it with a chainsaw for cutting firewood.
Once cut, you will want to assemble the birdhouse with nails or wood screws. Adding some wood glue is always a good step to ensure that your woodworking projects have a stronger adhesive bond.
You will also need to have a power drill with a 1 inch to 1 ½ inch sawing bit to create the entry and exit hole. Once the hole is made you can pre-cut or drill a much smaller hole and stick in a slim wooden dowel as a perch for birds entering and exiting. If you cut the hole the right size compared to the dowel, then it should give you a tight fit, but again adding in a dab of wood glue will give it a better hold once weight is added.
With the basic design in mind, you can add onto the birdhouse by painting it a bright color, adding slats to the walls or shingles on the roof to create more layers in the overall finished house.
Tool Caddy
For girls and boys alike, creating this basic caddy is a great woodworking project that you can make together to help them store and carry important items. This basic box design is fairly easy to make and requires cut pieces of lumber plus a circular dowel that will become the handle.
To create a simple tool caddy, you will want to purchase and cut down a few 1x6s. You can then trim them down to your desired length for the width and height for the caddy. The sides of the caddy should be trimmed to a slimming angle going up to the predrilled holes for the dowel.
To attach the sides and the bottom you will want to use a brad nailer and some wood glue to give it an extra strength hold. The top handle dowel can be slid into the cutouts, which if cut to the dowels size will already be a snug fit. Adding in a few dabs of wood glue will ensure that the dowel handle doesn’t spin or slip with frequent use.
Soccer Goal
For the soccer star in your home, this is a great DIY project to make together before starting some basic soccer drills. You will need a few 2x4s to create a sturdy goal that can take a hit from the soccer ball being kicked into it as well as some soccer goal netting.
The basic shape of the goal is a rectangle in the front with two triangles on the side. The triangles need to have a right angle from the frame going up and the base on the ground. From the back bottom corner of the triangle you will want to add in a final long board that reaches from end to end of the triangles, this will create your steady goal stance. Finally use nails or screws to attach the netting, not allowing it to be too loose.
The age of your child will give you the best recommendation for goal size. Starting at age 9, your kids will need a goal that is 6 ½ feet high. The width of the goal will change as they age. For standard soccer practice at home, you can build a smaller framed goal.
Conclusion
These fun DIY woodworking projects for kids are a great start for families that want to learn how to woodwork. After you have tackled these projects, you will have the basic idea and skills to move onto more crafts that you can do with your kids help.